So, I have a spare Khorne Champion model for Fantasy, I don't have a Chaos fantasy army though so I decided to use it as a test model to see if I could complete to it to a high standard in a short amount of time.
The basic process was thus:
Base coat with German Dark Yellow (it looks more green than yellow, but whatever)
Next was a layer of Hull Red, a nice deep dark red that works well for Khorne models
Then came the metallic parts using GW Mithril Silver
After that I applied a fire red to most of the open parts of armour and black to the cape
I then added the finer touches of the gold trim, the brown leather, the skin colour
And of course, the skulls were painted bone white, then slathered with sepia wash.
At that point I could've left the model, it would be fine for table top purposes, but not good enough to represent a hero of an army. So then I added some washes and highlights, put some grey on the black cloak to give it some shading effect and some sepia wash on the flesh tones.
In all, here is the final product. I'll let you be the judge, but I truly welcome some feedback on this guy.
The time was done in two sessions of approximately 1-2 hours each session.
Sunday, 2 March 2014
Thursday, 9 January 2014
The First Complete Khorne Warp Talon
So, not many words to this one, just a slew of pictures. As I previously mentioned I was making them with Berserker bodies and Warp Talon arms, with some bladevane things to add to the backpacks to make them look a bit more jetpack like.
Also, funnily enough, after I spent quite some time making the claws look nice and blended, I then went and added the blood effects on them which hides most of the shiny highlighting and blending heh.
The base theme, I should note, is meant to be ruined city style, this is my first attempt at it. So I have a wooden beam with some rubble and bricks splattered with some blood effects and a lot of black pigment. I'm thinking of adding in some dead grass to spruce it up a little.
Tuesday, 10 December 2013
Time to make some scenery
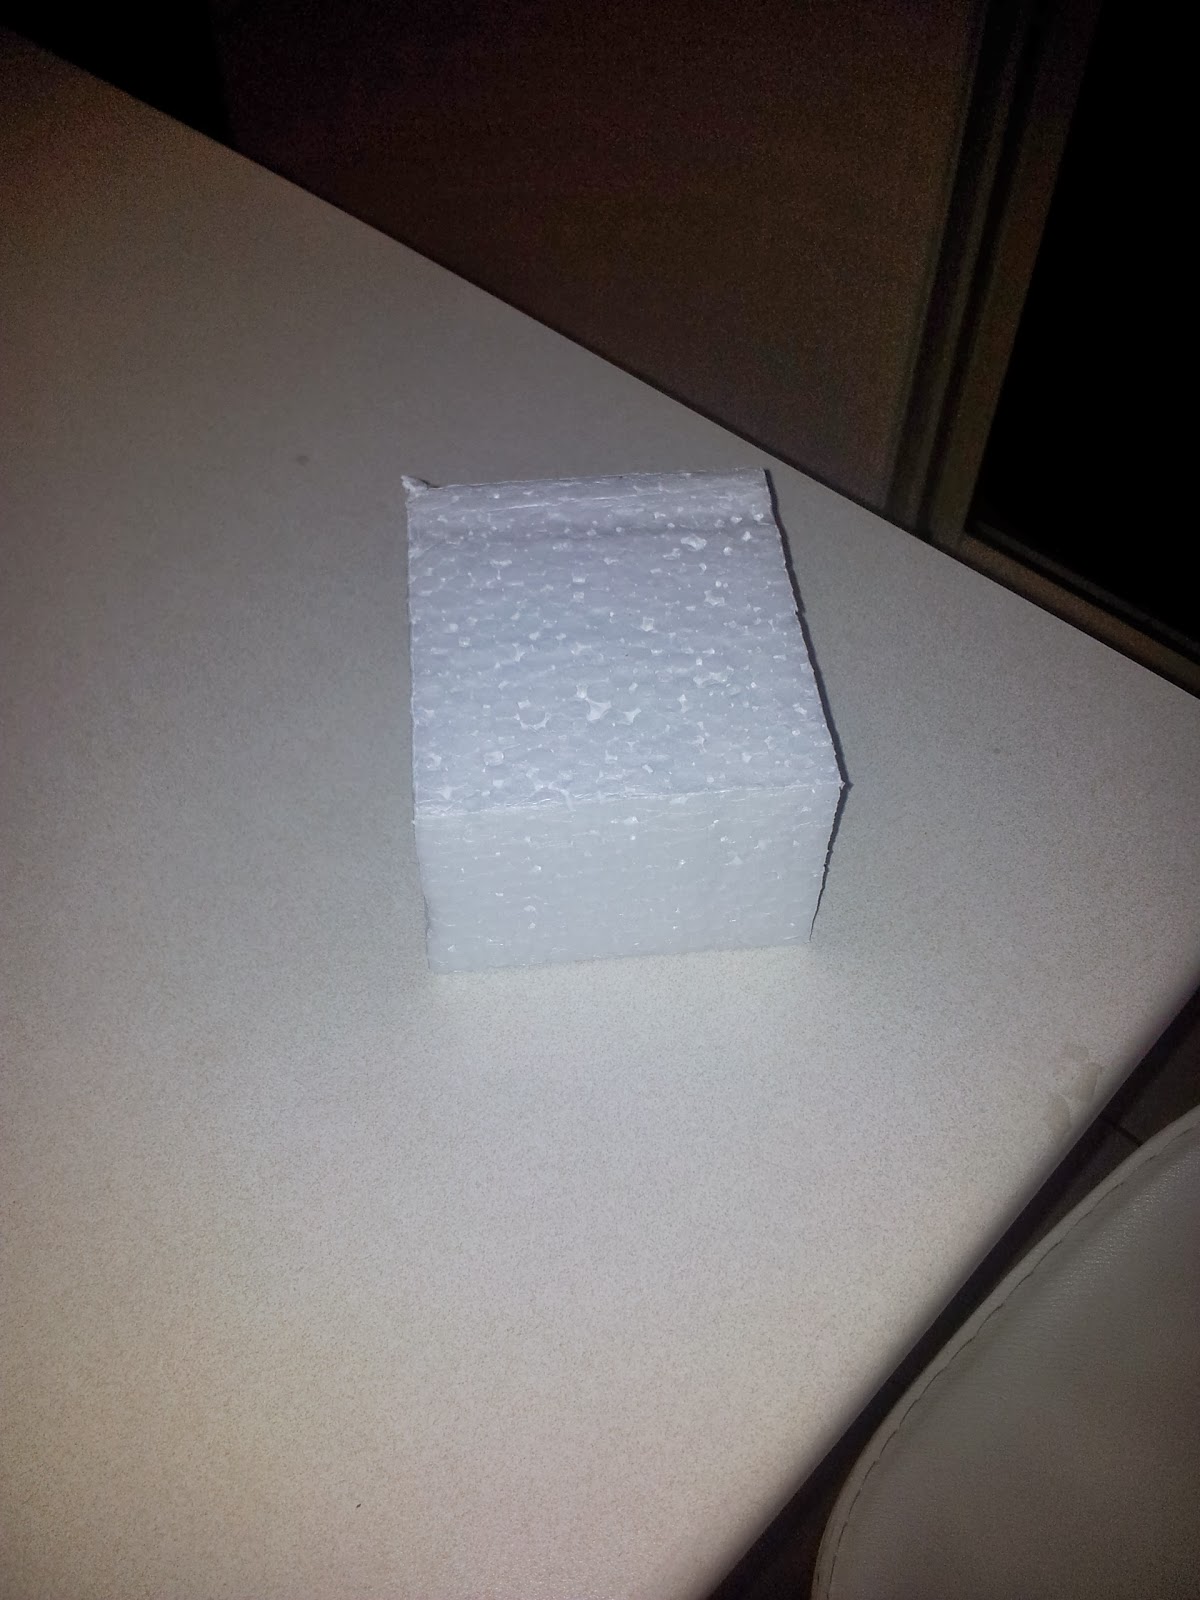
So I thought I would begin making some scenery for the future games I hope to host at home with my shiny new table. The first part was obtaining some square bits of styrofoam with some recent packaging of a toy box for my daughters. Shown below is the square box by itself and another with my hand for scale. (this is the second box hence the white spray paint on my hands which will be explained later)

Shiny Square Styrofoam
Hand for scale
After I had my square piece I knew that it would of course look somewhat foolish as a rocky outcrop being perfectly square and all that. So I had to do something about that. I know that certain materials like to melt the foam, things like superglue, but using that in quantity seemed foolish, so I tried out some white spray paint, which was rather successful. I didn't take a picture of it as I had to move fast from that point. the next picture is the cardboard box and the hole I rather hastily carved out to use as a base for the terrain.
Queue the free promo for Kmart Australia
Next I quickly attached the square bottom part which I had not sprayed onto the cardboard with copious amounts of poly vinyl adhesive. I then quickly brushed the pva all around the base and some on top of the now very melty foam, and following that added a whole heap of sand.
Now, here is the first lesson for myself in terrain making.
Don't use sand in copious amounts inside the house.
I know what you might be thinking, "Well Duh!", but I was rushing this at the time and the lights outside don't work properly at the moment, a few broken bulbs to replace. So, after vacuuming the excess sand I snapped a couple of shots from both sides. Right now it looks like crap, but it's supposed to because it hasn't been painted yet.
Tomorrow I'll spray on an undercoat and a few layers and then begin to add some frosting through drybrush and maybe some ice parts using the new crackle medium I have. I think that using snow flock on a large terrain piece will be a waste of the small amount of flock that I have.
Tuesday, 5 November 2013
The Slightly Flamboyant Daemon Prince
So, with my shiny new toy I decided to test out my colour blending on the old metal daemon prince model. This is another second hand that I bought off a friend, my entire CSM army is in fact second hand even if some was new on the sprue still.
I wanted to keep the red world eaters theme that I'm going for whilst putting in an element of daemonic essence bursting through the seems.
The concept was to have a bright blue at the central demon parts and blend it up to the red of the army colour scheme.
Again, I was slack and used my phone instead of my camera for these pictures, but here is the mostly finished product. I might add some more highlights and obviously the base needs to be done, but the main point here is the colour blending attempt.
I tried to do a similar colour blend on his sword and then highlight the runes, it works fairly well when you see it in person but doesn't translate well through the crappy camera phone. Still though, i might look at redoing it at a later date. First I have a lot of other models to assemble and basecoat.
But, as for this guy, I'd love your thoughts.
Shiny New Toys
So I finally landed myself an air compressor that I can use inside, it's quiet, runs with no oil, and provides more than enough juice for painting the man dollies.
Here she is:
I've named her Vera, currently my most prized possession.
In my first quick test run I undercoated a demon prince in about 2 minutes, 1 minute and 40 seconds of that was set up and pack up. It took literally around 20 seconds to spray coat that guy nice and clean. I'll be doing a second post shortly with the further work I did on that guy.
I'll wrap up this post though with a follow up on my previous desires of modelling projects and the successful completion of one of them. In a recent purchase of some off loaded models I landed two unused sprues of CSM raptors/warp talons. I also had a box of unopened Khorne Berzerkers and had planned on making some khorne warp talons. This job has now been successfully completed.
A squad of 10 Khorne Warp Talons:
Sorry for the poor pictures in this one, after a few hours of filing parts, slowly gluing bits together I wasn't in the mood to set up the camera so I just used the phone.
I do have a close up though of the first test model:
I want to use the jetpacks from the kit to make raptors, so I pinched the blade vane bits to add to the backpacks to make them look sort of jetpackish, it works well on some and looks a tad foolish on others.
Thursday, 24 October 2013
Learning some new tricks
When I first go into this hobby it was with a collection of friends who all played. Eventually most of us drifted apart in distance and we all stopped playing. I always wanted to get back into it and that's what prompted me to start the gaming club mentioned in previous posts.
After I started the club, I contacted some of my old gaming buddies to see if they still wanted their armies, and one of them did not so I purchased it. It contained an older metal Great Unclean One which I had planned on using in my Chaos Space Marine army, but when the new codex dropped it was discovered that we were no longer able to use greater daemons. So I now had a redundant model and a desire to further my painting skills.
So, here we have Old Papa Nurgle, all painted up, using some techniques I had not yet tried. With the idea being that if it was good enough I would attempt to sell it off.
So here we have the front and rear model views, I went with the darker green style in order to provide a stronger contrast of the bone colour, and the pustules.
I'd like to say, that this is truly a disgusting model and I hope I did it justice, but I'll let you be the judge of that.
All in all, I was quite proud of my work on this model, I am very much a novice painter even though I have been in this hobby for many years. I'm hoping to further improve on my skills over the next few years with the spare time I have after having returned to full time study.
I have to thank the very helpful commission painter from The Sound of Machines for the tips on using the Clear Red to provide the blood effects.
After I started the club, I contacted some of my old gaming buddies to see if they still wanted their armies, and one of them did not so I purchased it. It contained an older metal Great Unclean One which I had planned on using in my Chaos Space Marine army, but when the new codex dropped it was discovered that we were no longer able to use greater daemons. So I now had a redundant model and a desire to further my painting skills.
So, here we have Old Papa Nurgle, all painted up, using some techniques I had not yet tried. With the idea being that if it was good enough I would attempt to sell it off.
So here we have the front and rear model views, I went with the darker green style in order to provide a stronger contrast of the bone colour, and the pustules.
I'd like to say, that this is truly a disgusting model and I hope I did it justice, but I'll let you be the judge of that.
Front
Rear
And here we have some close ups of the protruding bone of the rear spine and the elbow. The blood effect was done by using the Tamiya Clear Red paint. The trick was to get some of the paint out of the pot and let it sit on the palette for a few minutes for it to get nice and sticky and then apply it with an old messy brush.
The Rear Spine
The Protruding Elbow
All in all, I was quite proud of my work on this model, I am very much a novice painter even though I have been in this hobby for many years. I'm hoping to further improve on my skills over the next few years with the spare time I have after having returned to full time study.
I have to thank the very helpful commission painter from The Sound of Machines for the tips on using the Clear Red to provide the blood effects.
Friday, 4 October 2013
The Return of the Waaagh!
Our had club numbers dwindled after a move to a new hall. Which was disappointing as we were starting to get some solid numbers of attending players. There's no doubt multiple factors for the dwindling, but at the core I believe that the main group was simply a bit bored of the whole scene. A decision was made to put the club on hiatus for a few months while we all had a break. Recently, I decided to restart the club, at our old location and under the same style as when we began.
So far, so good. We've had one meeting and a healthy enough showing, our next meeting is scheduled for next week for some Fantasy based games, ranging from Warhammer through to Malifaux.
I'm trying to get my Malifaux warband ready for next week, and as such I hope to post some photos of the finished job of them before next Friday.
Subscribe to:
Comments (Atom)


